MENU
カテゴリー
\気になるカテゴリーをクリック!/


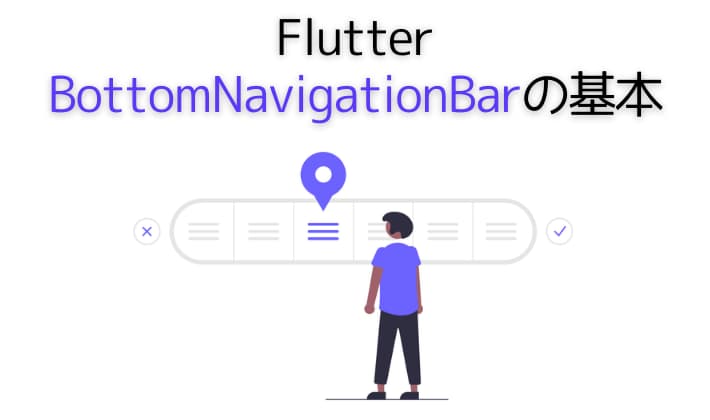
FlutterのBottomNavigationBarの使い方法を知りたい
FlutterのBottomNavigationBarの使い方を忘れたので知りたい。
そこで、今回はFlutterのBottomNavigationBar classにおける基本的な使い方をサンプルコードとデモアプリで解説します。
不明点などありましたら、お気軽にお問い合わせ下さい。
フリーランスのFlutterエンジニアとして働きたい方にオススメのエージェントはこちらで詳しく解説しています。
BottomNavigationBarは画面の下に表示されるメニュー風なウィジェットです。
BottomNavigationBar classとは
A material widget that’s displayed at the bottom of an app for selecting among a small number of views, typically between three and five.
(直訳)アプリの下部に表示されるマテリアル ウィジェットで、少数のビュー (通常は 3 から 5 つ) から選択します。
引用:Flutter公式サイト「BottomNavigationBar class」
BottomNavigationBarサンプルコードは以下の通りです。コピペでそのまま使えます。
import 'package:flutter/material.dart';

void main() => runApp(const MyApp());

class MyApp extends StatelessWidget {
  const MyApp({super.key});

  static const String _title = 'BottomNavigationBarデモ';

  @override
  Widget build(BuildContext context) {
    return const MaterialApp(
      title: _title,
      home: MyStatefulWidget(),
    );
  }
}

class MyStatefulWidget extends StatefulWidget {
  const MyStatefulWidget({super.key});

  @override
  State<MyStatefulWidget> createState() => _MyStatefulWidgetState();
}

class _MyStatefulWidgetState extends State<MyStatefulWidget> {
  int _selectedIndex = 0;
  static const TextStyle optionStyle = TextStyle(fontSize: 30, fontWeight: FontWeight.bold);
  static const List<Widget> _widgetOptions = <Widget>[
    Text('Index 0: 入力画面', style: optionStyle,),
    Text('Index 1: カレンダー画面', style: optionStyle,),
    Text('Index 2: グラフ画面', style: optionStyle,),
  ];

  //Iconクリック時の処理
  void _onItemTapped(int index) {
    setState(() {_selectedIndex = index;});
  }

  @override
  Widget build(BuildContext context) {
    return Scaffold(
      appBar: AppBar(
        title: const Text('BottomNavigationBar デモ'),
      ),
      body: Center(
        child: _widgetOptions.elementAt(_selectedIndex),
      ),
      bottomNavigationBar: BottomNavigationBar(
        items: const <BottomNavigationBarItem>[
          BottomNavigationBarItem(icon: Icon(Icons.mode_edit), label: '入力',),
          BottomNavigationBarItem(icon: Icon(Icons.calendar_month), label: 'カレンダー',),
          BottomNavigationBarItem(icon: Icon(Icons.bar_chart), label: 'グラフ',),
        ],
        currentIndex: _selectedIndex, //現在のアクティブインデックスを表示
        backgroundColor: Colors.grey[100],//ボトムバーの背景色
        selectedItemColor: Colors.amber[900], //Icon選択時にIcon色を指定
        onTap: _onItemTapped,//Iconタップ時のイベント
      ),
    );
  }
}
BottomNavigationBarでよく使うプロパティ
| プロパティ | 内容 |
|---|---|
| currentIndex | 現在のアクティブインデックス |
| selectedItemColor | Icon選択時にIcon色を指定 |
| onTap | Iconタップした時の動作 |
BottomNavigationBarItemでよく使うプロパティ
| プロパティ | 内容 |
|---|---|
| icon | 表示したいアイコンを指定 |
| label | 表示したい名称を指定 |
| backgroundColor | ボトムバーの背景色を指定 |
今回はFlutterのBottomNavigationBarにおける基本的な使い方をサンプルコードとデモ画面で解説しました。
Flutter初心者の方はBottomNavigationBarの利用方法を押さえて、アプリの表現の幅を広げていきましょう!
Flutterエンジニアになるには?
初心者が中級者レベルのFlutterエンジニアなるまでの進め方をまとめました。
Flutterの学習方法を知る

Flutter をスクールで学ぶ
Flutterの副業を探す

おまけ:Flutter入門の完全ガイド

Flutter/Dartの基礎一覧
Flutter/Dartの入門知識として押さえておきたい内容をまとめました。学習のご参考にどうぞ。


コメント